Monday, March 7, 2011

For the Birds

Hello Friends,
Thanks for stopping by! Hey, do you ever have those days when you got time off and can sit in your craft room all day....and can't think of a thing to make. What do you call that? Creator's Block? Anywho I seem to get it all the time, sit in my craft room looking through cartridge booklets, surfing the net for ideas and on and on till finally somethings hits ya or maybe a few trial and errors. Well this is what I came up with this week, even though I went through all those scenario's. It all started with my 1/2 off coupon at Micheles for a plain wooden bird house and one at HL for a total of about $2.00.
Papers are from K&Company.com
I took some interior house paint and painted as a base color and then white washed over that. Waited till it dried and took some sand paper to it and distressed the wood. Cut my papers to fit the angles and threw on a few extra stamps. The cartridge for the Birdhouse tag is from Cindy Loo ( go to bottom of page for instructions of embossing papers)
back side
bird house tag
Got these wonderful Stamps from craftysecrets.com  This is my new ultimate favorite place to shop for vintage stamps, pictures, the list keeps going . Bonne Fete translated in English means Happy Birthday. If your a fan of Vintage Items this is an awesome place to shop...Check it out!
Back side of tag

This UTEE (Ultra Thick Embossing Enamel) is awesome stuff and I love the look it gives to projects and find myself using it alot since discovering this technique. You 1st dab on the VersaMark to your project and then just sprinkle on the UTEE and use your heat gun to set it. 1 coat gives a bumpy texture, 2coats a smooth texture and 3 coats you can let cool a little and imprint a stamp. (instructions on pkg)
Once again I want to Thank You for spending time here with me and hope to see you soon for the 2nd addition of For The Birds. Have an Awesome Day.

Friday, March 4, 2011

I "Tink" we had a Birthday Party !

Hello Everyone,
Hope this blog finds you all well,Thank you for joining me again. Well I have finally got around to getting my granddaughters birthday goodies posted here. But first I would like to show off  pictures of my darling granddaughters.
Birthday Girl Bria
Baby Sister Renae
I also made my grand babies tutu, she wants to be just like big sister .
For the tutorial on these tutu's go to samstersmommy.blogspot.com very simple and children just love them!

OK now onto the Birthday
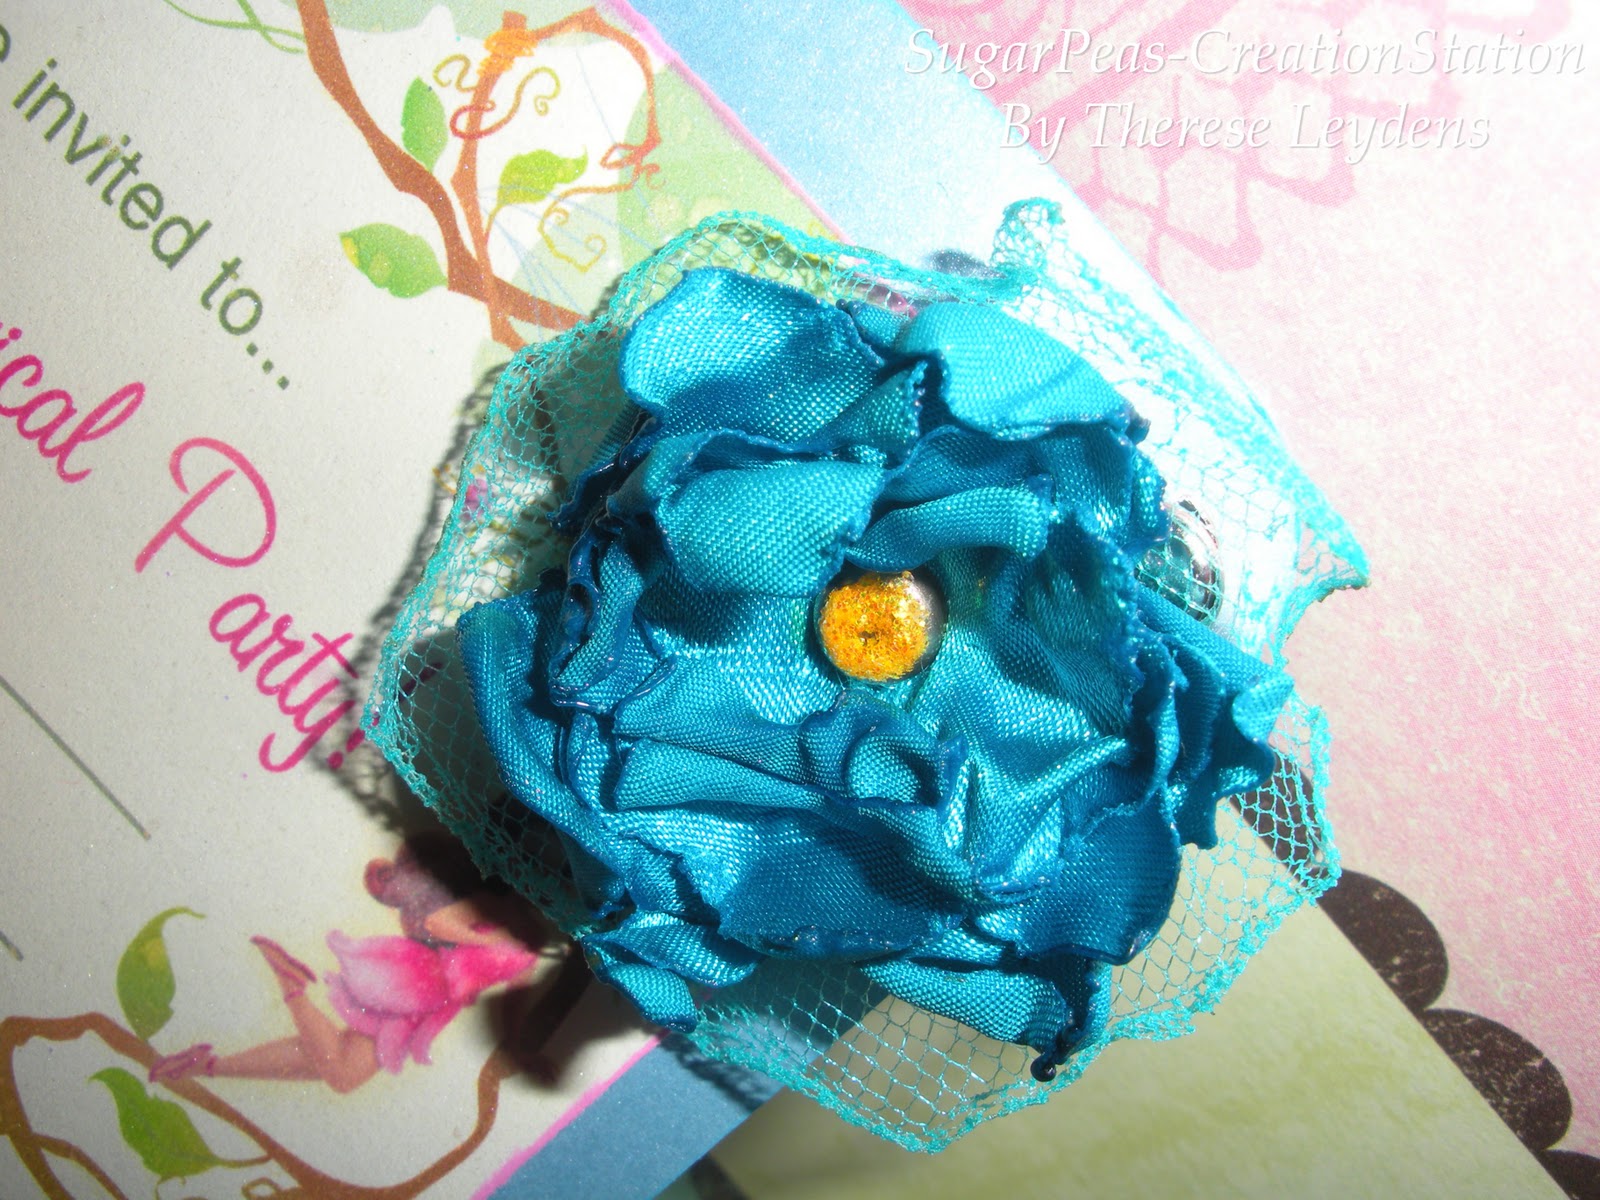
I started off with some Invitations, I went to the DisneyFamily.com ( tons of great ideas for birthdays) and got printable's of the invitations and put them on pearlized card stock, I also added a satin flower I made into a hair clip to the invitation so each child could have one to wear to the party.

Now we must have a Tinker Bell Dress.....which I found at TJMaxx and put some extra trim and a Jewel on it to make it even more special. I found the wings at HL in the Easter section ( not suppose to be wings) but I made them wings anyway and it turned out great

Now my daughter wanted to do most of the decorations so I only made a few. I made the butterfly banner (found in earlier post) and these straws with butterfly's and flowers and put little flowers on each of them.
beads from HL and you can put them together in the colors that you like. The cuts for the butterfly's and flowers are from the built in images on the cricut imagine on pearlized paper


Making Necklaces for each little girl (Jewels found at HL as well) and just put them on some pretty ribbon.

Now we must have a special box to put all our treasures in! So I took a simple box and blinged it out Tink style.
 Cartridges used for flowers were Forever Young and the butterfly's were from Nursery Tails


Some of the treasures are of course... Fairy dust in a bottle, flower lip balm, and to hair clips made by grandma
Well that was my part in my beautiful granddaughter birthday and here is the party that her momma put together for her special 4th Birthday
My Daughter's tasty cupcakes
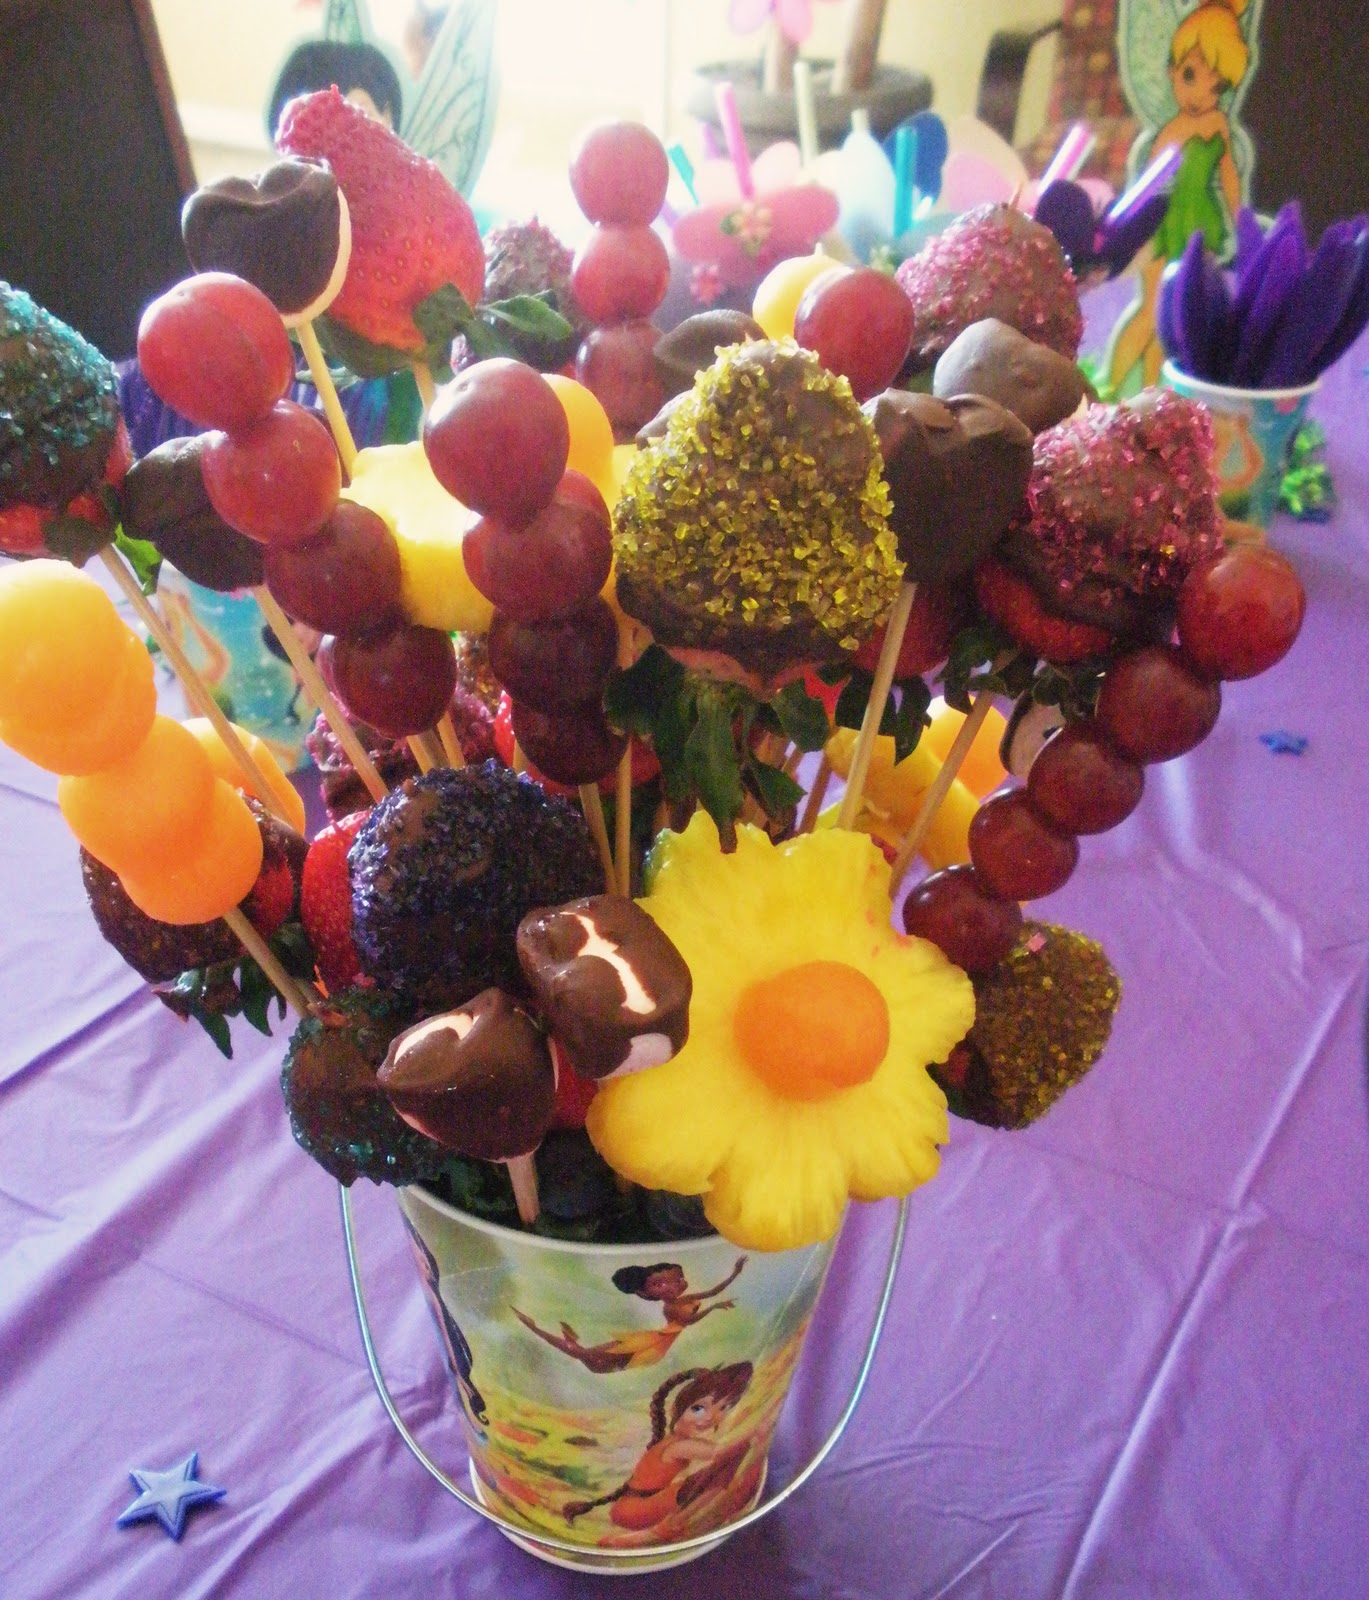
My daughters best friend made this edible fruit arrangement for Bria since fruit is her favorite food and I think she did such a wonderful job


Mommy and Bria

Daddy and Bria

Special Present

Smily Renae

Sugar Pea and her Granddaughters
OHHHHHHHHHHH
did I mention Baby #3 is on the way!!!!!
Thanks so much for sharing my Granddaughters birthday with me. Hope you have a Awesome and Blessed Day. See ya soon.

Friday, February 25, 2011

Cutie Cloths Pin Magnets and Tinker Tin Box

Hello Everyone,
Thank you once again for joining me. Today was a monumental day for me......I finally reached 50 followers!!! I know, it's not huge, but I'm thrilled just the same and want to Thank You for being apart of Sugar Peas - Creation Station.
I do not have much time today to put out all of my Granddaughters birthday goodies I made, but here is a Tin and clothes pin magnets I made. They were so much fun to make and my Granddaughter Bria can pin up her projects on the fridge with these magnets. Hope you enjoy them, and as always Thank You for sharing your time to visit me and have a Blessed Day.

I have taken these clothes pins and on the back of the Tinker Bell paper package is a sample picture of the papers you will get in the package. Perfect size for the clothes pins. I just  cut them out to fit the clothes pin and adhered them with good old Elmer's glue. Put some glitter on and then put another coat of Elmer's glue on so that the glitter would not come off all over the house, the same was done with the tin. Put on some buttons ( Tinker Bell loves buttons ) and there ya have it.

Are these cool clothes pins or What!!! They are from the $1 section at Michaels in a variety of colors and have a built in magnet in them ( so little ones cant get to them ) and they stick perfectly to the tin that they are stored in, so they don't move all around. The tin I purchased at the $1 store, they are for gift cards and fit these clothes pins perfect.
Well I have to end for now. My work week starts in the morning and I'm flying to the Midwest.....BURRRR
Happy Trails

Thursday, February 24, 2011

Butterfly Banner

Hello my Friends,
Glad to see you again. This months challenge for Cricut is Banners. So this is my banner which I made for my Granddaughter's 4th Birthday. Lots of other birthday goodies but that will come later


Cartridges used : Nursery Tail (dragonfly )
                           Imagine (built in butterfly)
                           Forever Young (flower )
Buttons on the dragonfly are antique buttons
Butterfly grommets, butterfly antenna's...snippets of floral jewels,Stickels

Wednesday, February 9, 2011

Old Time Valentine

Hello Friends,
Well I'm on a Valentine roll here! I find making cards or anything for guys is a challenge for me. But here are a few cards I did the Old Time Valentine is for my Daddy and the Queen of Hearts is for my Son and Son-in-law and then I have one more Vintage Valentine there is room. Hope you enjoy them, and as always Thank You for spending time here at my blog.


Cartridge-Imagine More
Paper-DCWV
Type Writer Keys- Stickers w/glossy accents on top
added some cool machine stitching


Queen of Hearts embossing folder
Glossy accents
and a tasty lollipop


Vintage Valentine II


The cuts for this card are the built in cuts on the Cricut Imagine
I found Vintage stickers at HL put some Crackle Accents on top and distressed it when it dried, looks awesome.